DOC: Customise Table Styles in AskiaVista
| Summary | This article describes how to customise an AskiaVista 6.x Table Style |
| Applies to | AskiaVista |
| Written for | Data processor |
| Keywords | interface; customise; vista; askiavista; style; table; grumpy cat |
Documentation note : add entry for this feature in the Vista assistant
Pre-requisites
- AskiaVista 6.0.2.1 or higher.
- basic knowledge of HTML, CSS (or LESS).
- table style management must first be enabled for the user.
To do so, you must access AskiaVista's Admin module. There, go to the Authorisations tab and select the Authorisation for which you wish to activate Table Style management.
There, select the AskiaVista Version 6 tab and locate the Table Style dropdown; you can set to None (no access to Table Style management), Create (allows users with this authorisation to create and use Table Styles) or Display (allows users with this authorisation to use Table Styles).
Downloading a Table Style
To begin creating / amending a Table Style, you must first download an existing Table Style from AskiaVista.
Important: you must first have an opened survey in order to download a Table Style.

To do so, click the gear icon located in the Properties panel toolbar and select Table Styles. This will display the Manage Table Styles modal.

There, select the Table Style template from which you want to base your new / custom Table Style from the dropdown menu located in the modal's toolbar (in this case, Default). Then, click the Download button and select either of:
- Download a .CSS file (styling rules will be exported as a .CSS file)
- Download a .LESS file (styling rules will be exported as a .LESS file)
For the purpose of this article, we'll be downloading the .CSS version of the Table Style. AskiaVista will then prompt you to download a NameOfTheTableStyle.zip file (in this case, Default.zip). Unarchive this file and you will find the following elements:
- NameOfTheTableStyle.css: this stylesheet contains all styling rules for the selected Table Style.
- index.html: this page embeds a series of tables (flat counts, cross-tabs with and without edges, etc.) so you can easily test your styling before uploading your amendments back to the AskiaVista server.
- selectors.html: this page details each rule contained within the .CSS file for reference.
Modifying the Table Style
Now, you have retrieved all necessary assets, we advise you:
Open index.html & selectors.html in your favourite browser and open NameOfTheTableStyle.css in your favourite text editor (prefer a Notepad++, Textpad or a dedicated IDE for this rather than Notepad / Wordpad).

In this example, I will only modify certain rule for the table's caption class (that is, the table header). If you compare the above original CSS file with the below amended version, you'll note I only changed some colours, text shadows, etc.

This part of the Table Style customisation relies on CSS; if you feel you need some extra resources on CSS, you can check out Getting Started with CSS (by the Mozilla Developer Network).
Do remember to make use of index.html to test your Table Style:

Once you have achieved the Table Style you want, save your NameOfTheTableStyle.css as a new file (e.g. in this case, Green.css).
Uploading the new Table Style
Back on the AskiaVista interface, go back to the Manage Table Styles modal and click New. Assign a name to this new Table Style (in this case, MyGreenStyle):

Click Save; AskiaVista should display a "The 'MyGreenStyle' table style was successfully saved" notification. You can now Close the Manage Table Styles modal.
Note: depending on your browser cache settings, you may need to log out and log back into the application in order to view your new Table Style.
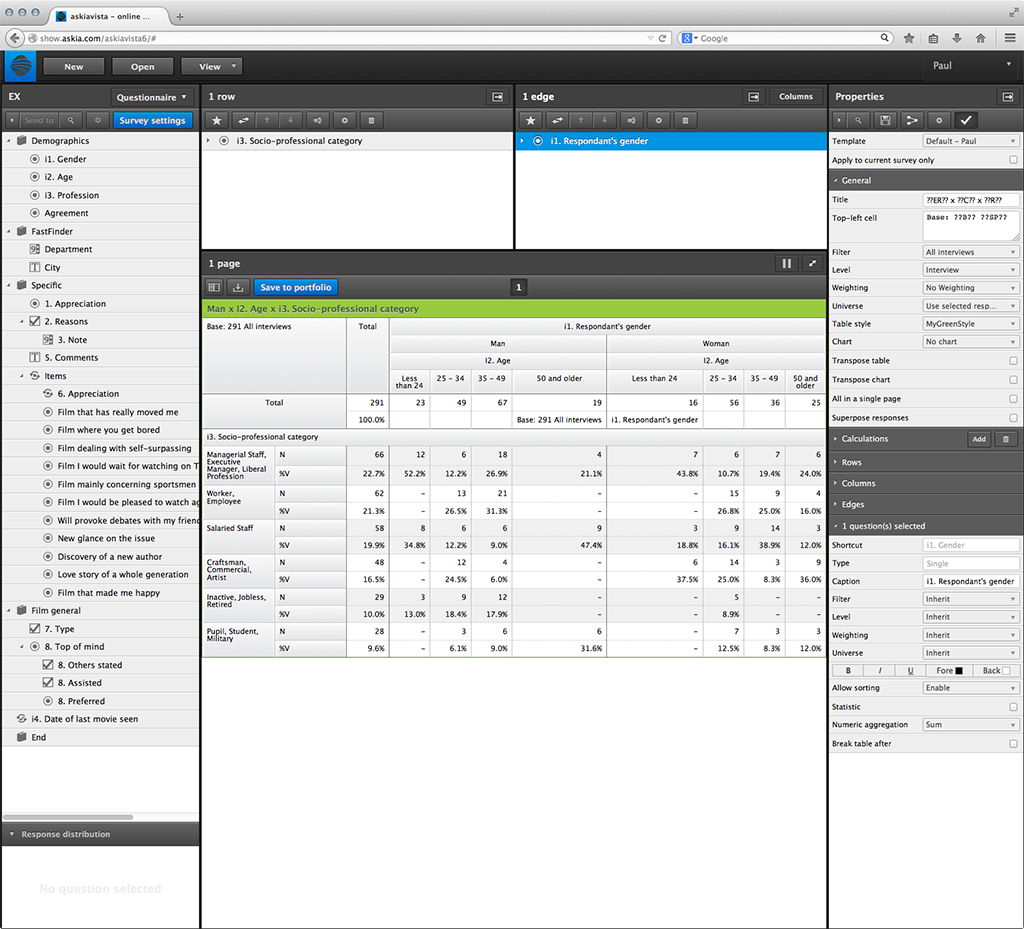
You can now create a new table to double check your new Table Style (just remember to select the new style in the Table Style dropdown located in the Properties panel!):
As with any table style, this new style template can be set as default template in the Survey Settings modal.
You can also Share or Delete any existing Table Style template; to do so, just return to the Manage Table Style modal, select the appropriate Table Style from the toolbar's dropdown and click either Share or Delete:
