Install AskiaField (on a workstation)
Install Supervisor
Supervisor is the application that allows supervisors to connect to the Contact Centre Administration server (CCA) and manage fieldwork.
Before you install a Supervisor station on your machine, ask your system administrator which version of CCA is installed on your environment. Your Supervisor's version needs to match it.
Minimum requirements
Hardware & software
| OS | Microsoft Windows 7 |
| Processor | Intel Pentium |
| RAM | 4 GB RAM |
| HD | 100 MB of available disk space |
| Network | Ethernet or wireless connection activated |
You should have the read/write/modify permissions on the Askia installation path (usually C:\Program Files\Askia or C:\Program Files (x86)\Askia).
Recommended
- Minimum screen resolution: 1024*768.
- Microsoft Office (2007 or higher) including Microsoft Access.
Run the Install
Download Supervisor according to your server version here.
Unzip and run the downloaded setup.exe file as an administrator.
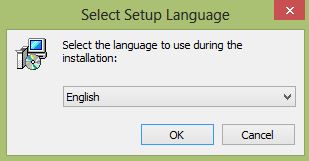
- Choose your installation language on this screen.
- Choose where Supervisor should be installed. By default, it will be C:\Program Files\AskiaField or C:\Program Files(x86)\AskiaField.
The setup will create a "Supervisor" folder in the selected path.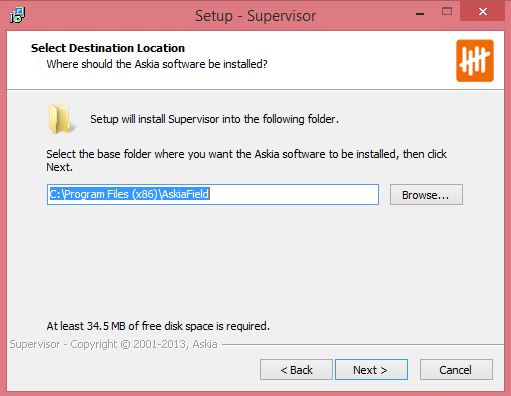
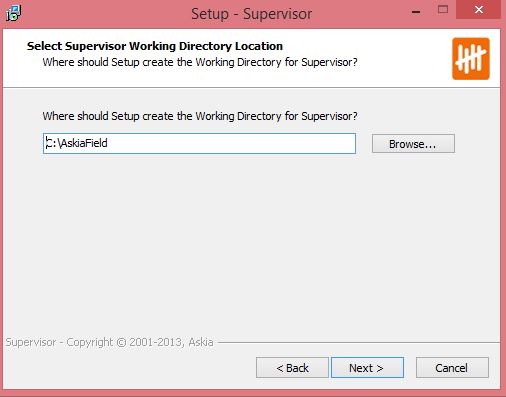
- Now, it is time to chose a working directory. This is where files will be saved during fieldwork: logs, dumps, etc.
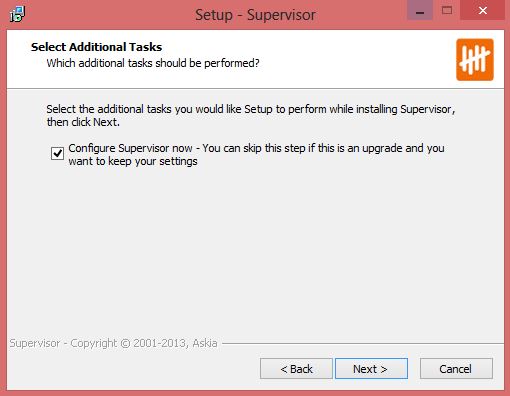
- If this is the first time you have installed Supervisor in your machine, you will need to configure Supervisor during the installation.
- This is the configuration screen. You will need to provide the IP address of the CCA you want to connect to. If a CCA is detected on your network, its IP will be available in the dropdown list. By default, the CCA uses the port 903 to communicate with Supervisor.
Location: the location is a number representing the computer you are connecting from. It is visible on the CCA.
Chose "Fixed" if you want to attach your machine with one specific location. This allows you to track which machine is connected to the CCA.
"Ask location at startup" will show you all available locations each time you connect to the CCA. Finally, "Let CCA or CTArchitect choose a location" will let the CCA pick one amongst the available locations each time you connect to the CCA.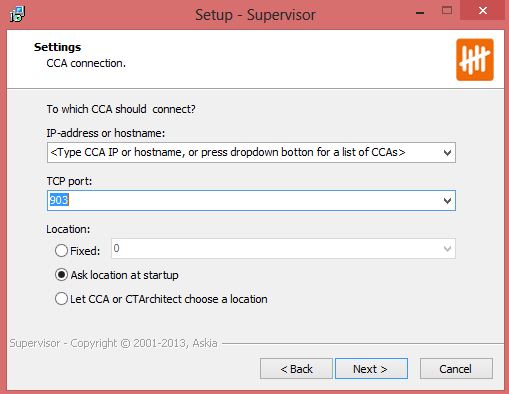
- The setup might then download additional files from the CCA server.
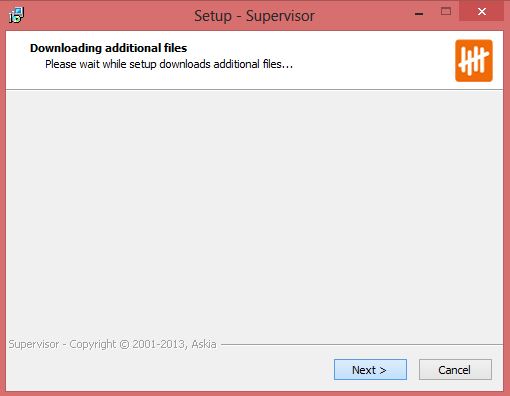
It will download them from Askia's website if the files are not present on your server. Click yes to start the download. Naturally, you'll need an internet connection for this part.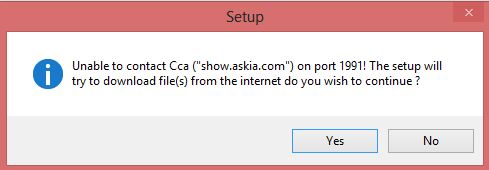
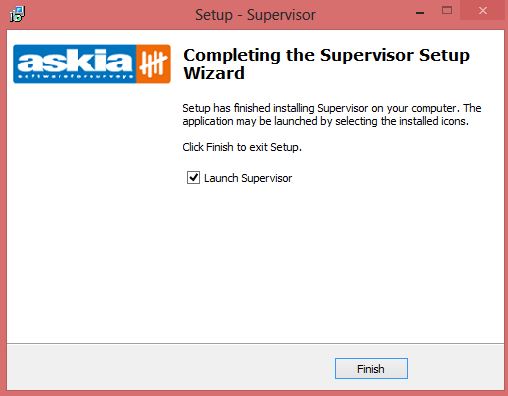
- After all files have been downloaded, the setup will be complete.
- (Optional) - Customize your shortcuts
Navigate to the installation folder and create a shortcut to Supervisor.exe (right-click -> create shortcut). The shortcut can then be customized to hold some of your preferred settings (Supervisor ID, or password, etc.) so they are directly applied upon using the custom shortcut.
To do so, right-click -> properties on the created shortcut. From the "Shortcut tab", you can add these parameters into the "Target" box at the end of the existing target.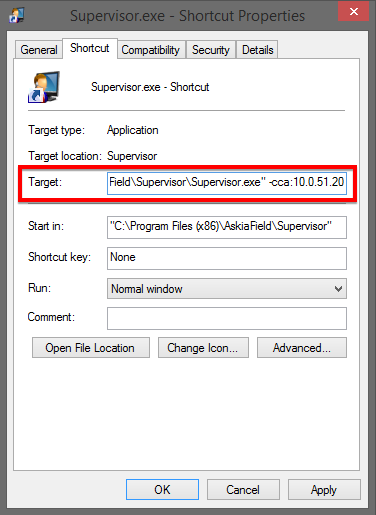
On the example above, my custom shortcut will not try to connect to the default installation CCA, but at a CCA located at 10.0.51.20.
In a similar fashion, other keywords can be used to call other settings.
Here is the list of parameters that can be added at the end of the target: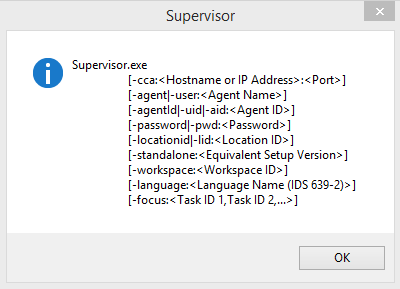
This list can also be found via the command line "Supervisor.exe -?"
Install CATI for voice agents
CATI is the application to install on agent stations. By connecting to the Contact Centre Administration server (CCA), it allow agents to dial out and conduct interviews.
Minimum requirements
Hardware & software
| OS | Microsoft Windows 7 |
| Processor | Intel Pentium |
| RAM | 2 GB RAM |
| HD | 100 MB of available disk space |
| Network | Ethernet or wireless connection activated (with VOIP: Ethernet only) |
You should have the read/write/modify permissions on the Askia installation path (usually C:\Program Files\Askia or C:\Program Files (x86)\Askia).
If you want to use webscreens in CATI (or AskiaFace), we recommend to use Windows 7 OS or higher, with a recent version of Internet Explorer (10 or higher). If you are on Windows XP then ensure to update IE to version 8 (the latest version available on this old OS).
Recommended
- Minimum screen resolution: 1024*768.
- Webscreens in CATI (or AskiaFace) requires a recent version of Internet Explorer (IE10 or higher).
Run the install
Download CATI according to your server version here.
Unzip and run the downloaded setup .exe file as an administrator.
- Choose the installation folder. The application .exe will be created in the selected folder. By default, it is going to be
C:\Program Files\AskiaFieldorC:\Program Files(x86)\AskiaField. Click Next when you are done.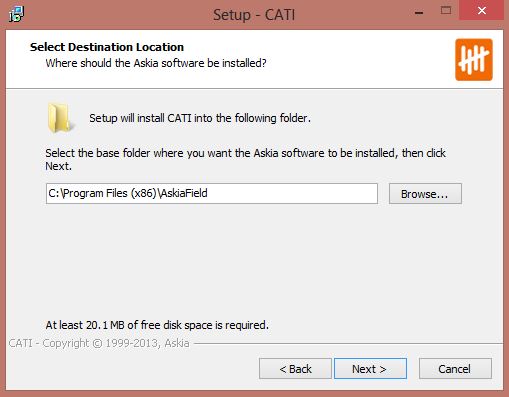
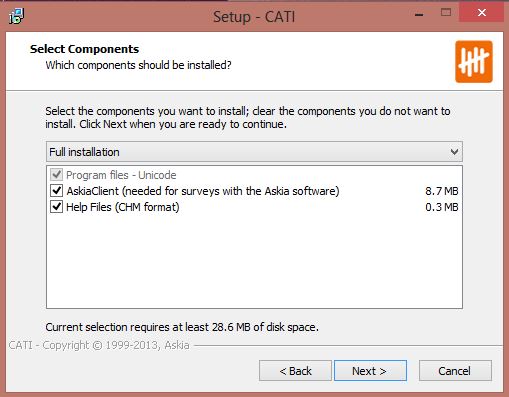
- On this screen, you are prompted with additional components to install. Make sure that "AskiaClient" is checked if you run surveys with Askia.
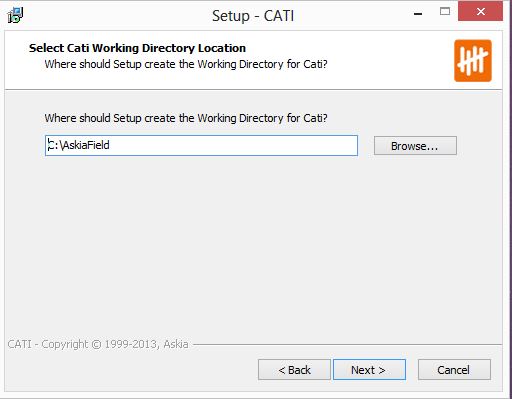
- Now, it is time to chose a working directory. This is where files will be saved during fieldwork: logs, dumps and local recordings.
- On this screen, choose if the application should automatically start or not.
Additionally, if this is the first time you install CATI on this machine, you will need to configure it - e.g. which CCA server you want the agent to access. Make sure to check "Configure CATI now" and click Next.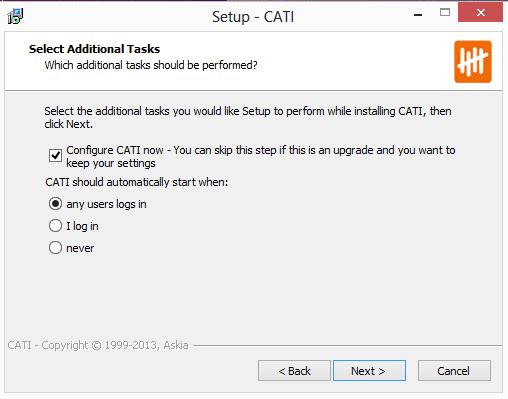
- This is the configuration screen. In the "IP address" box, type in the IP of the CCA the agent should connect to. If the CCA is on the same internet network than the station, its IP will be present in the drop-down list. By default, the communication port between CCA and CATI is 901.
Location : the location is a number representing the computer you are connecting from. It is visible on the CCA.
Chose "Fixed" if you want to attach your machine with one specific location. This allows you to track which machine is connected to the CCA.
"Ask location at startup" will show you all available locations each time you connect to the CCA. Finally, "Let CCA or CTArchitect choose a location" will let the CCA pick one amongst the available locations each time you connect to the CCA.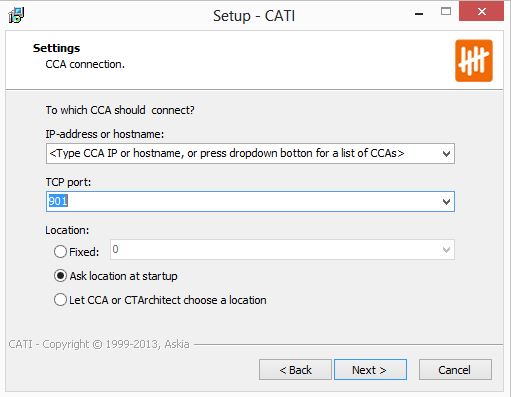
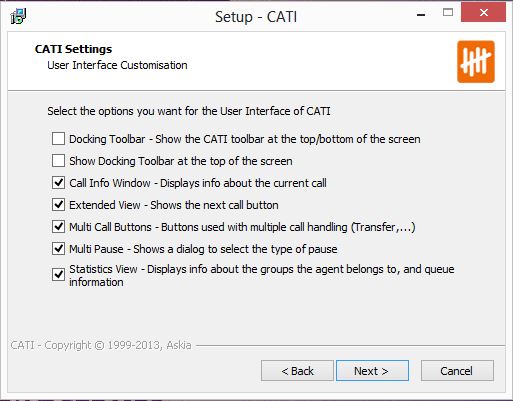
- Display customization. This screen allows you to pick visual preferences for the agent. Check or uncheck what you want to be shown or hidden according to your preferences.
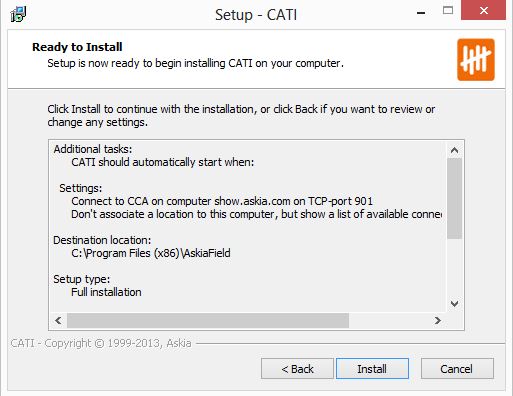
- The next screen is a recap screen of the preferences you have entered, make sure to review it before clicking "Install".
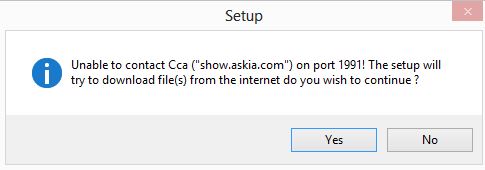
- Sometimes, you'll need to connect to the internet to download extra files during the installation process (eg : Visual C++). This window will be prompted in that case.
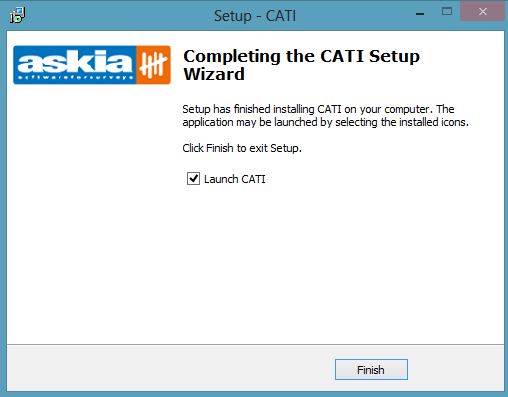
- After all file have been downloaded, the setup is done.
You can also customize the parameters into CATI shortcuts:
-cca:<Hostname or IP Address>:<Port>
-agent|-user:<Agent Name>
-agentId|-uid|-aid:<Agent ID>
-password|-pwd:<Password>
-locationid|-lid:<Location ID>
-standalone:<Equivalent Setup Version>
-oldapport:<Old Application Port>
-apport:<Application port>
-askiaclient:<exe to askiaclient.exe>|<parameters>
-ctscript:<exe to ctscript.exe>|<parameters>
Install Face on mobile devices
iOS installation
Minimum requirements
| OS | iOS 9+ (for iOS 9 > end of Apple support in May 2019, recommended iOS 10.3+) |
| Device | Apple iPad 2 + / Apple iPhone 4+ |
| Network | Wi-Fi, GPRS / Edge, 3G, LTE/4G |
| Display | Retina / non-Retina (normal, Mini & Air) |
Installation
- Locate AskiaFace in the iTunes App Store and press / hit / punch or slap (depending on whether you like your iDevice or not!) the
Freebutton.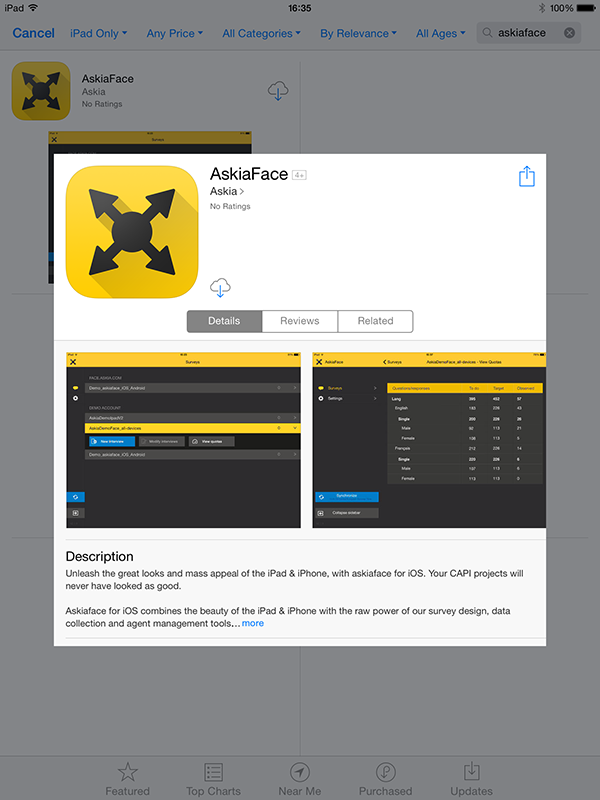
-
Do the same to the
Install Appbutton.You're done!

Android installation
Minimum requirements
| OS | Android 6+ |
| Device | See list of compliant devices |
| Network | Wi-Fi, GPRS / Edge, 3G, LTE/4G |
| Display | mDPI, hDPI & xhDPI |
| Misc | Avoid installing app on external storage as it may cause stability issues. |
Installation
- Locate AskiaFace in the Play Store app (you can search for AskiaFace, askia, or any other relevant term) or directly on the web. Once you've selected AskiaFace, press the
Installbutton.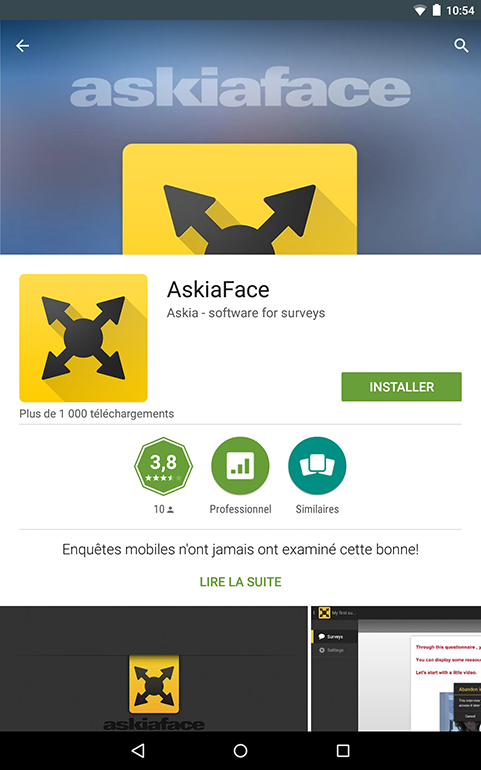
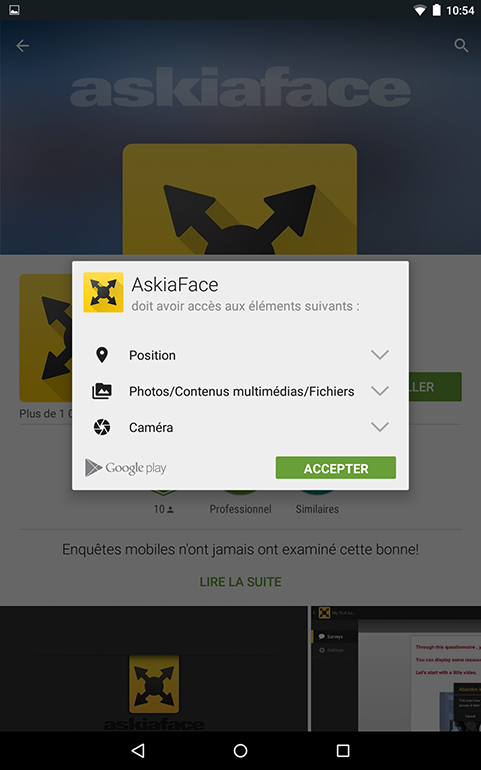
-
In order for the download / installation process to successfully complete, you must press the
Accept & downloadbutton.
Note: we advise you to also activate theAllow automatic updatesoption in order for AskiaFace to update automatically by itself.You can now start the application and connect to your AskiaField server.
Install Face for Windows
Minimum requirements
| OS | Microsoft Windows 10 |
| Processor | Intel Pentium IV |
| RAM | 4 GB RAM |
| HD | 100 MB of available disk space |
| Network | Ethernet or wireless connection activated (For VOIP : No wireless) |
- Download AskiaFace for Windows according to your server version here.
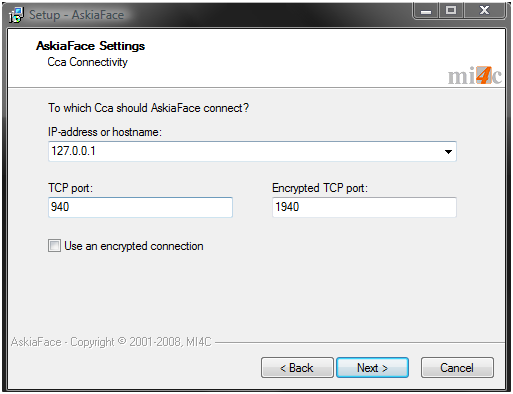
- Simply launch the setup on the laptop and follow the steps. Just configure the external IP address of the CCA server: