ADXStudio - Walkthrough
| Summary | Introduction to the Askia Design Controls and Askia Design Pages on ADXStudio |
| Applies to | AskiaDesign; ADXStudio; ADC; ADP |
| Written for | Scriptwriters, Programmers and Survey Authors |
| Keywords | adc; adp; control; page; design; askiadesign; create; adx; studio; adxstudio |

ADX Studio is a text editor built to create Askia Design Controls (ADCs) or Askia Design Pages (ADPs), v2.0 and higher.
Create a project
Creation
Create a new project by selecting “File” > “New Project”. The following dialog will appear:
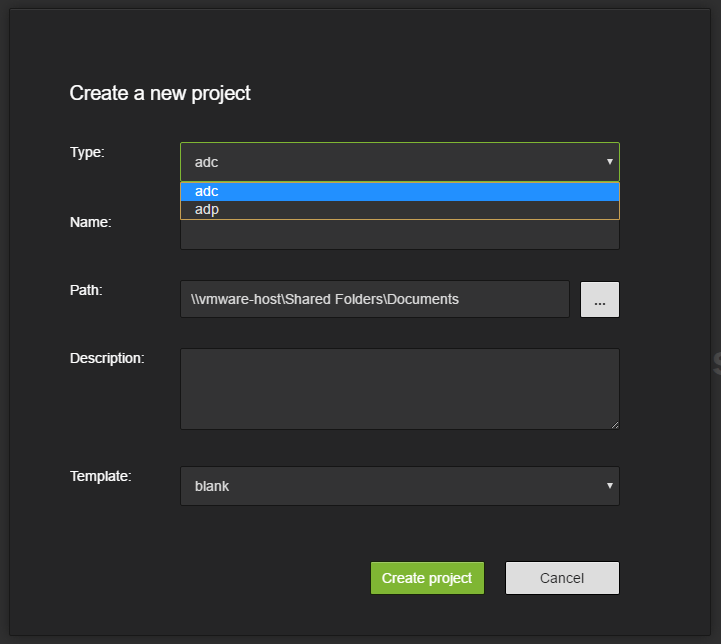
Select if you want to create an ADC or ADP, provide a name, path and description of your project. The Template field allows you to specify if you want to start from scratch (blank) or if you want to start with some previously created project template. Press “Create project” to complete the process.
Settings
Now that the project is created, the project settings are displayed.
Filling this page will automatically generate the project's config.xml file but you can also do it manually directly by editing the config.xml file.
Information
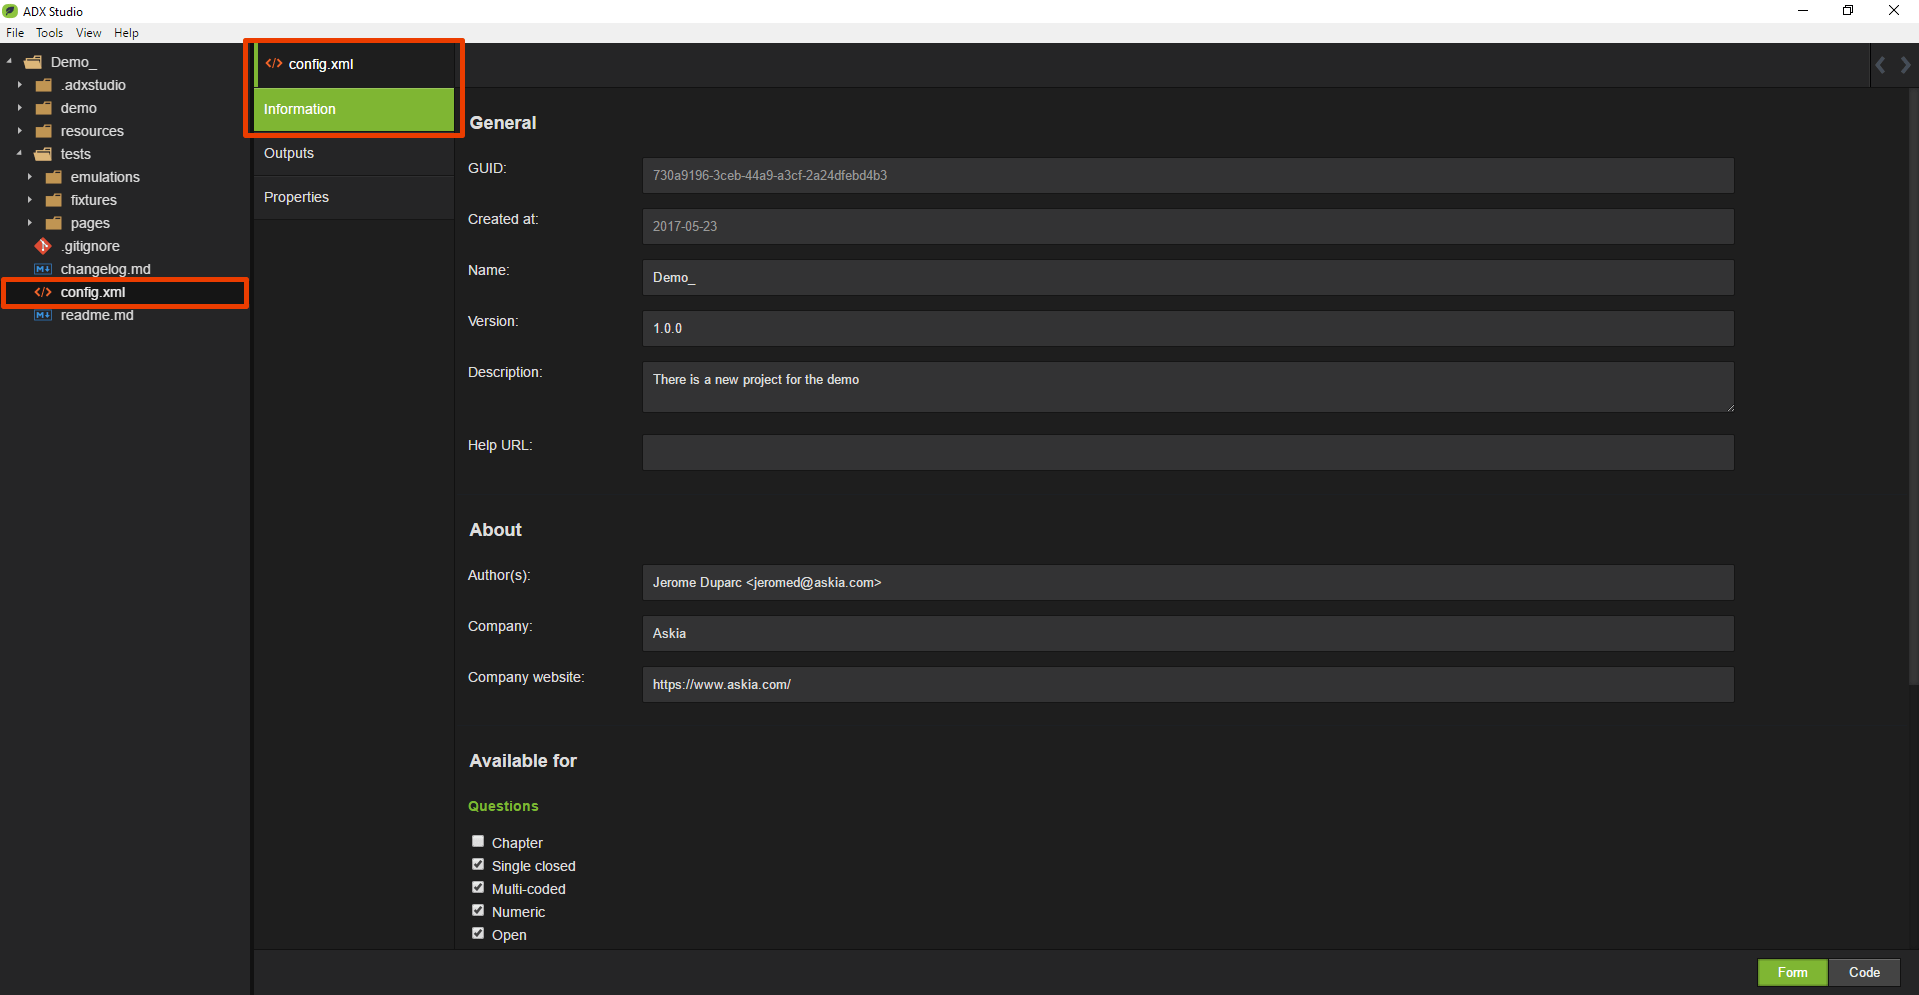
In the Information tab of your project settings, specify the necessary meta-data. Not all are required but the more you specify, the easier the ADC/ADP will be to maintain. The “Outputs” and “Properties” tabs allow you to add or delete file corresponding to special properties or outputs.
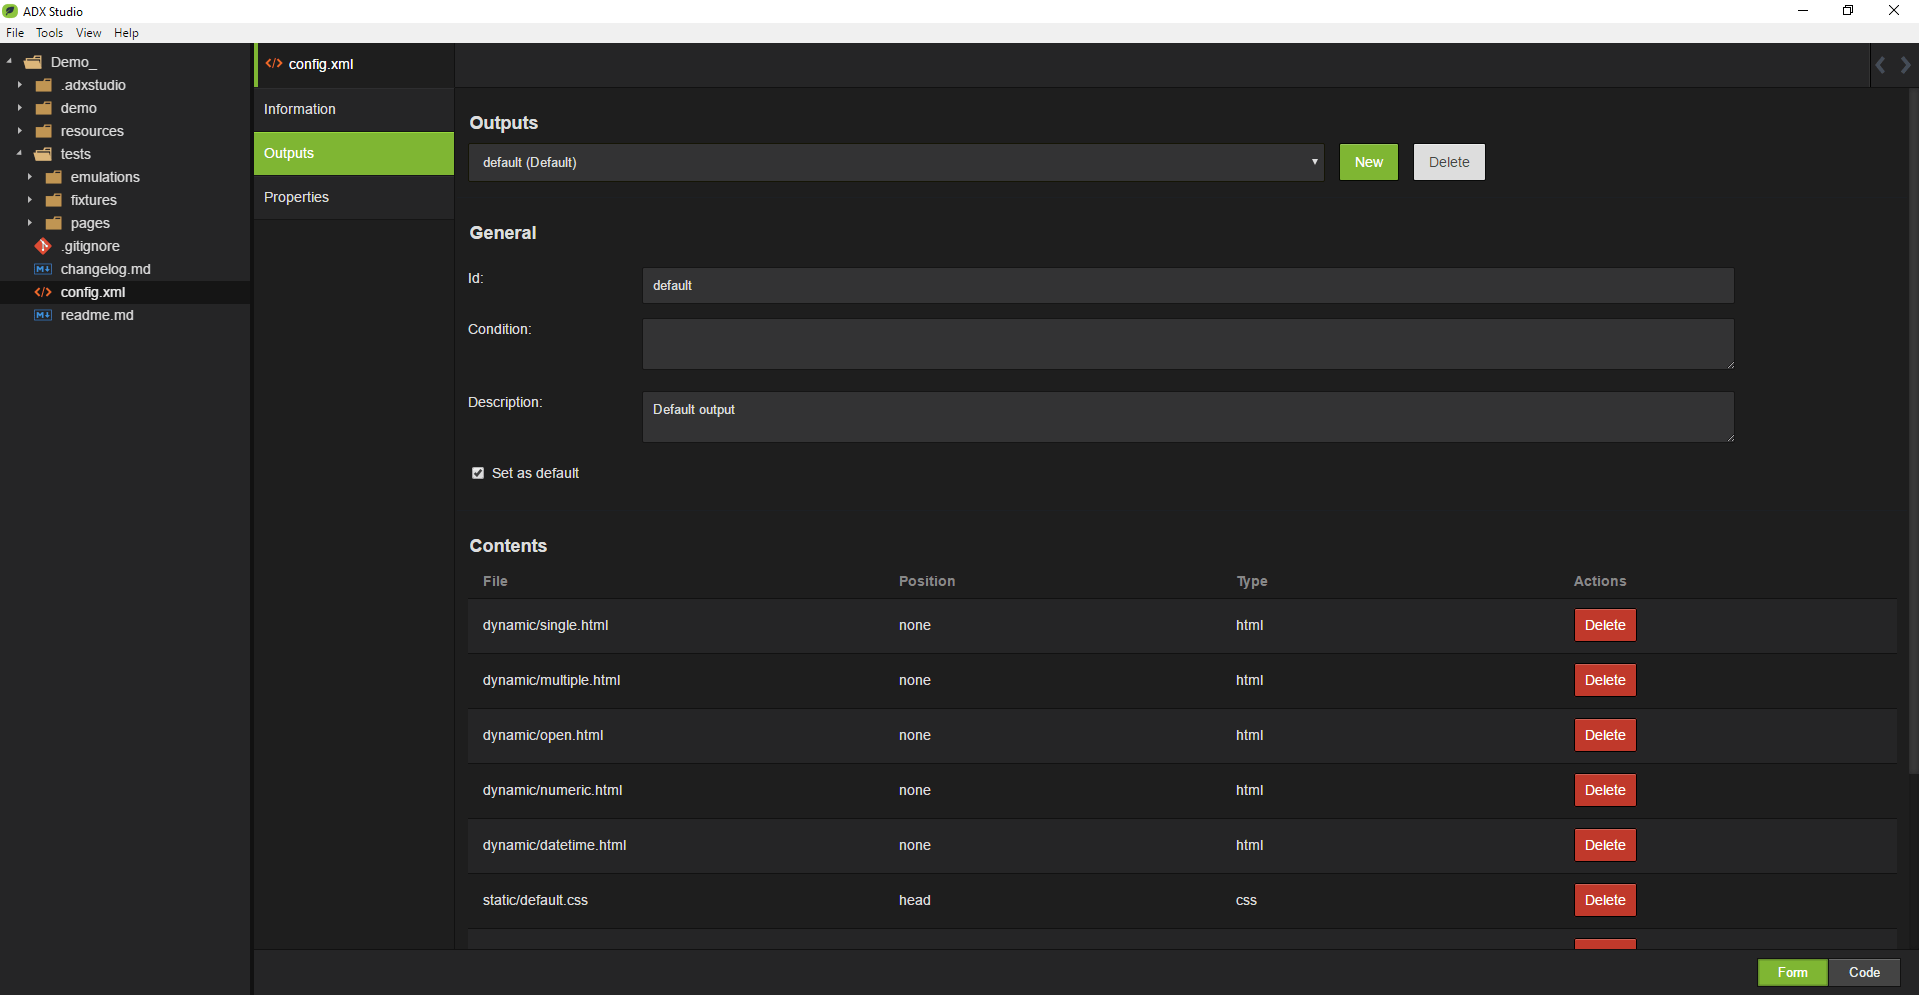
Outputs
Depending on the end user, renderer can be different (the ADC/ADP can be for Android, a specific browser, ...). The "Output" tab will allow you to specify the renderer you want to target.
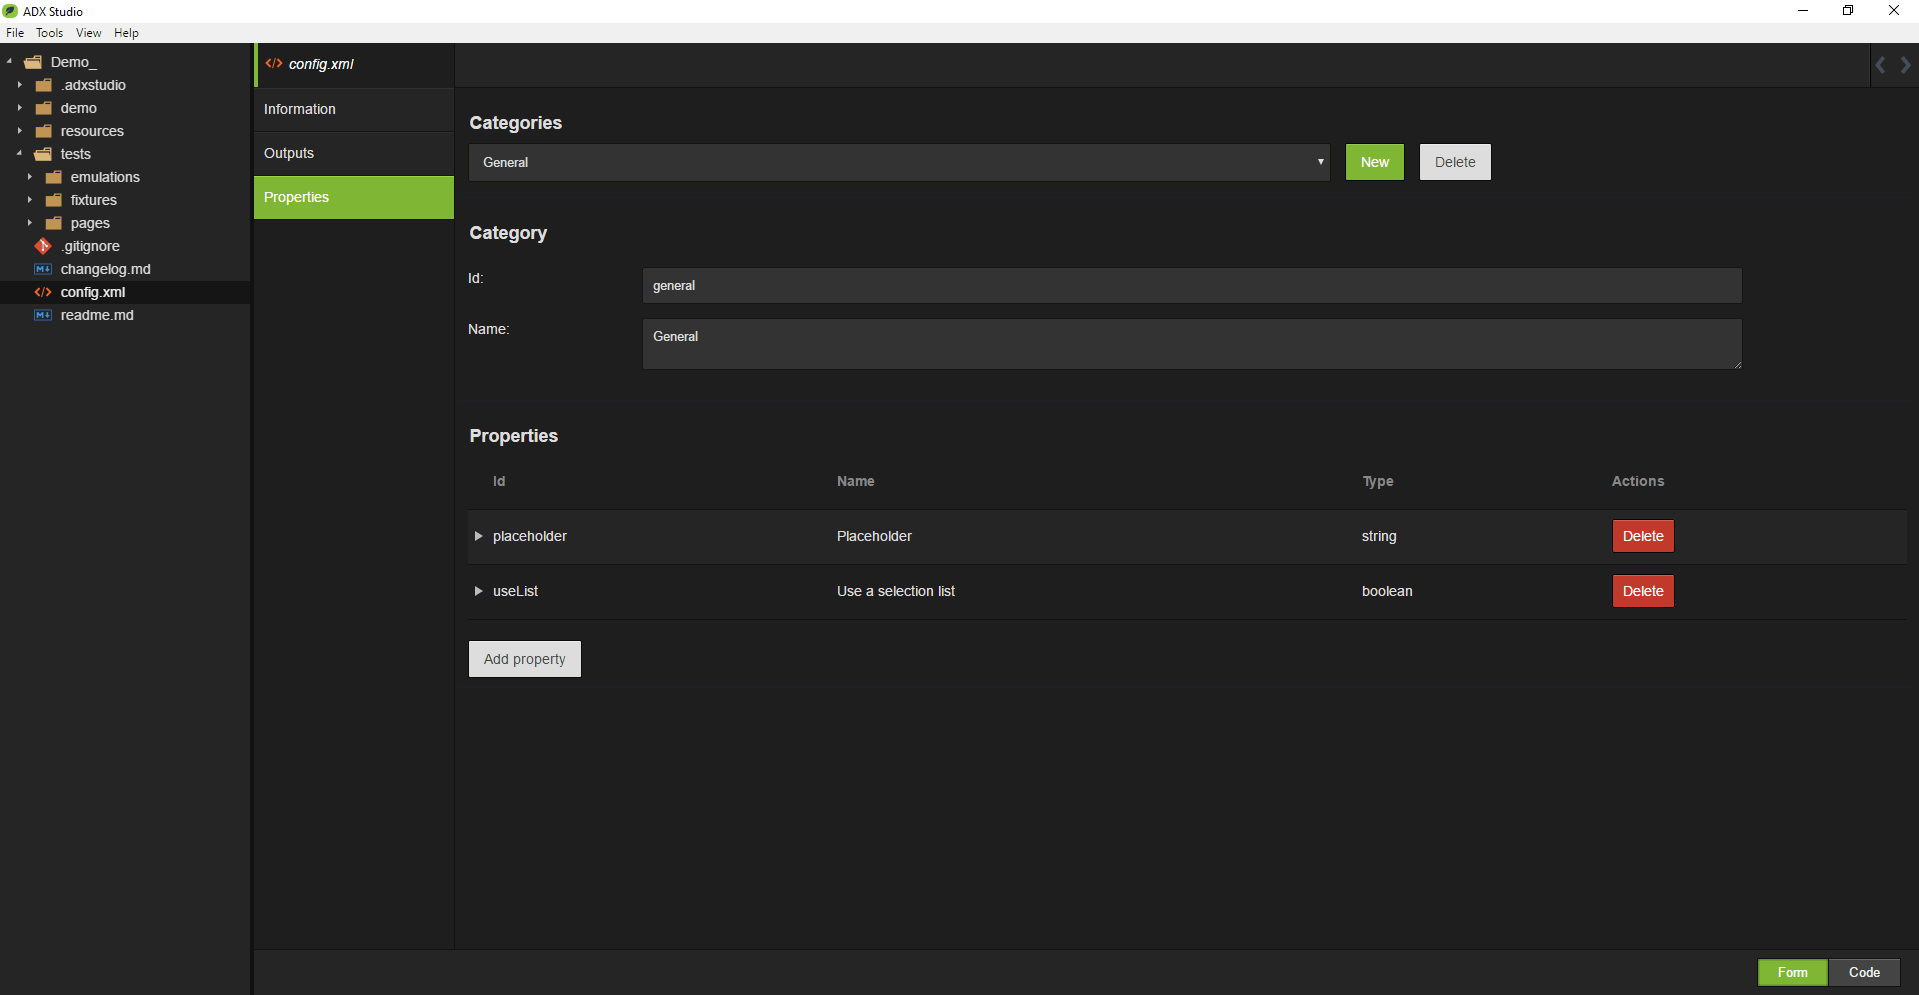
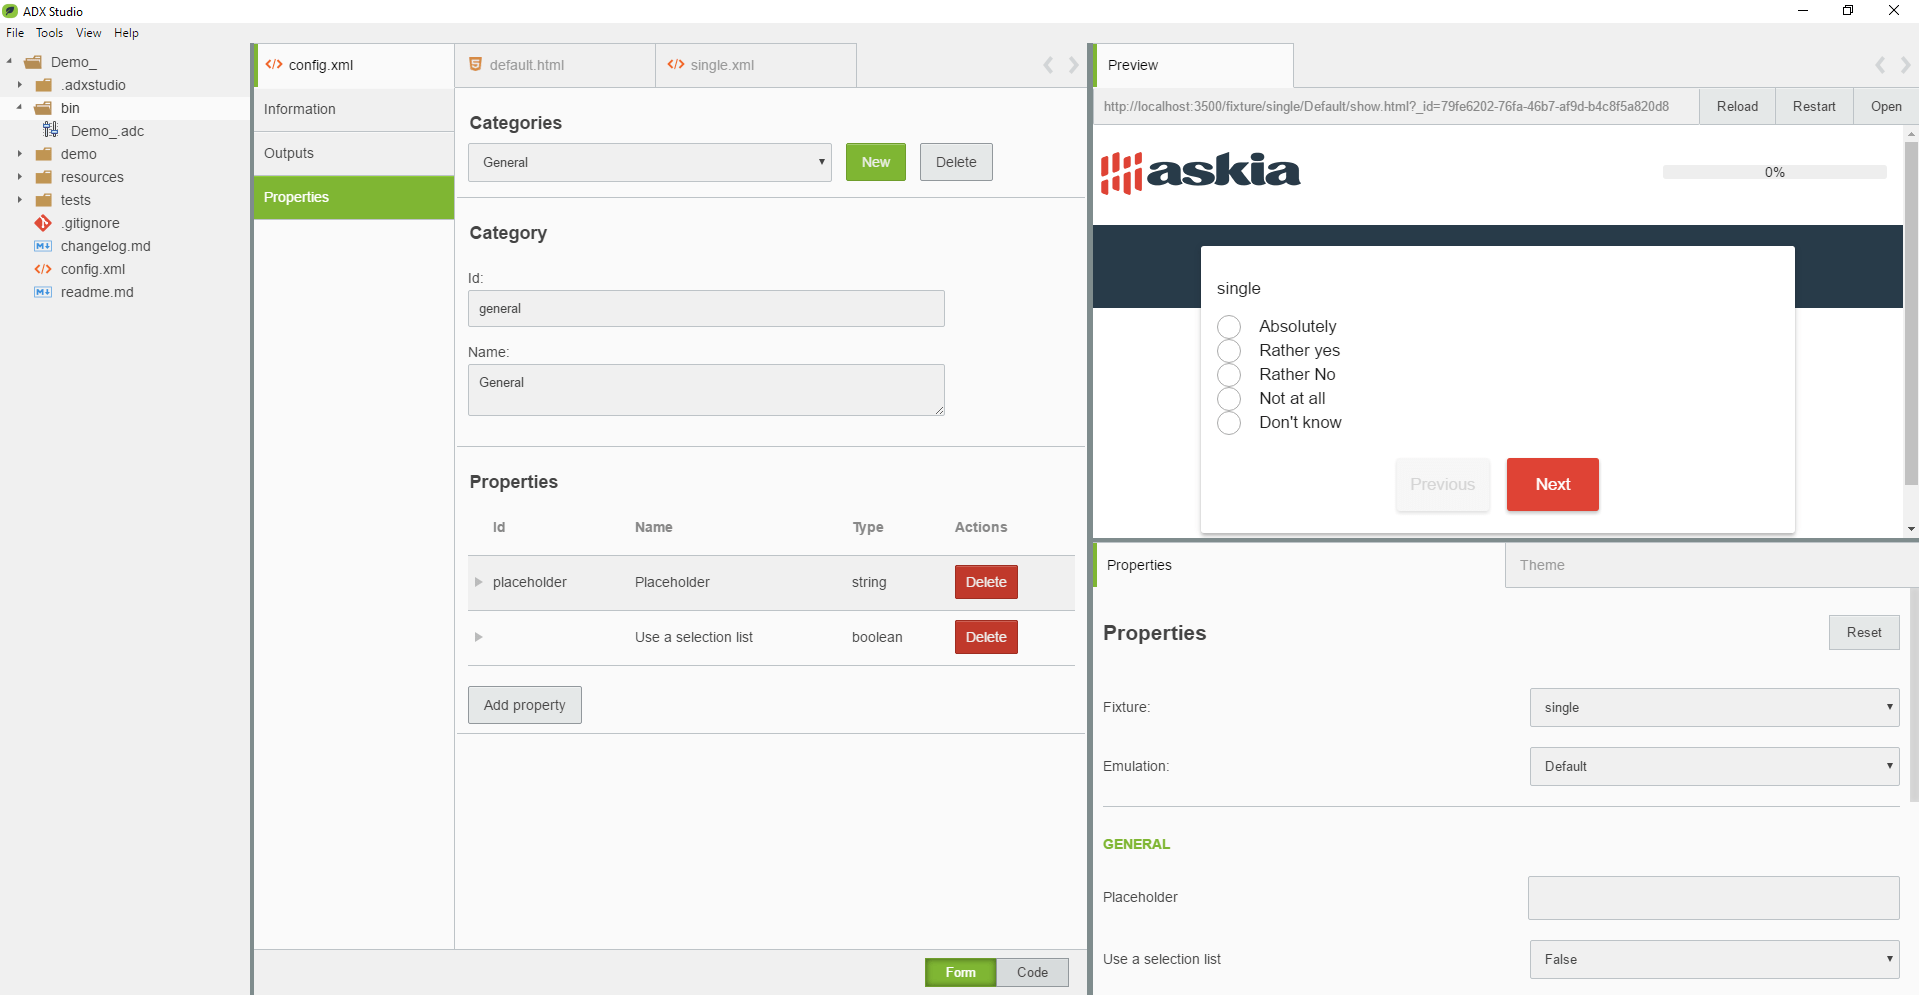
Properties
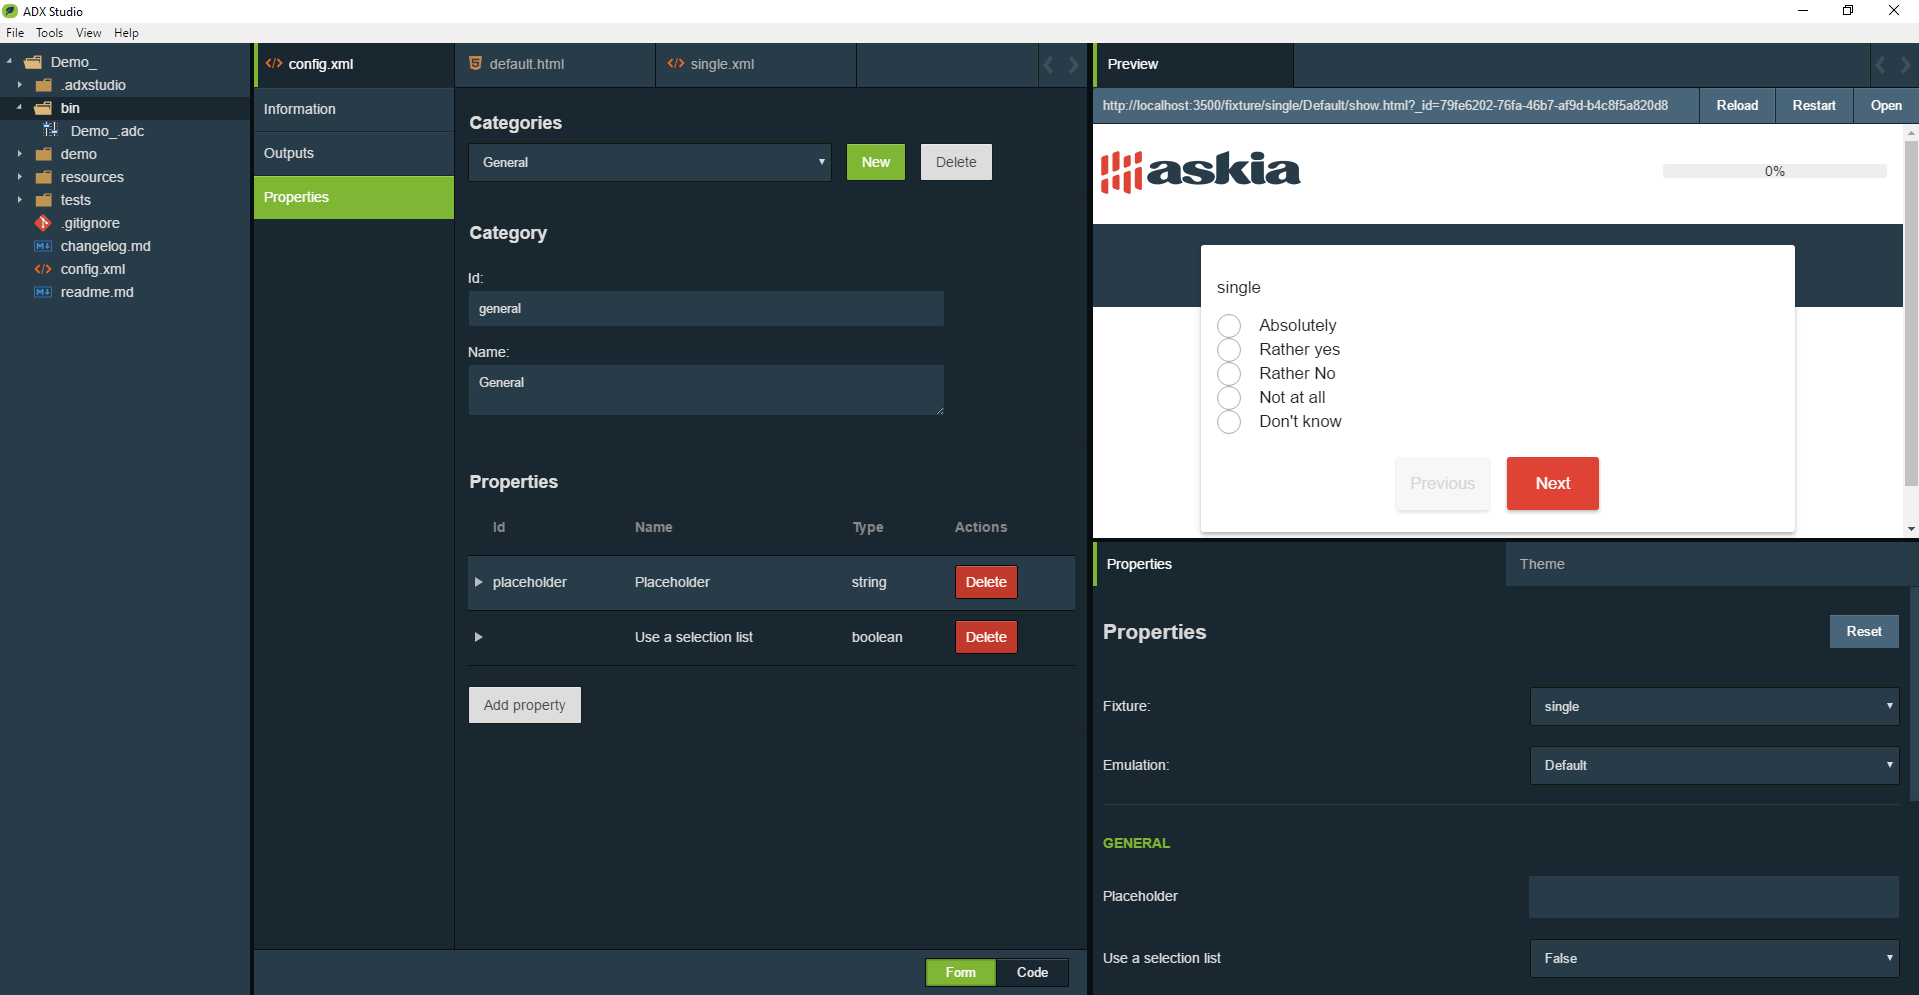
The "Properties" tab allows you to specify which properties will be accessible to the end user in AskiaDesign.
Once your Project Settings are complete, you can start to create the ADC. Project Settings are of course still available to edit during the creation of your ADC/ADP (“File” > “Project Settings” or open Config.xml).
ADC/ADP creation
Creating an ADC/ADP
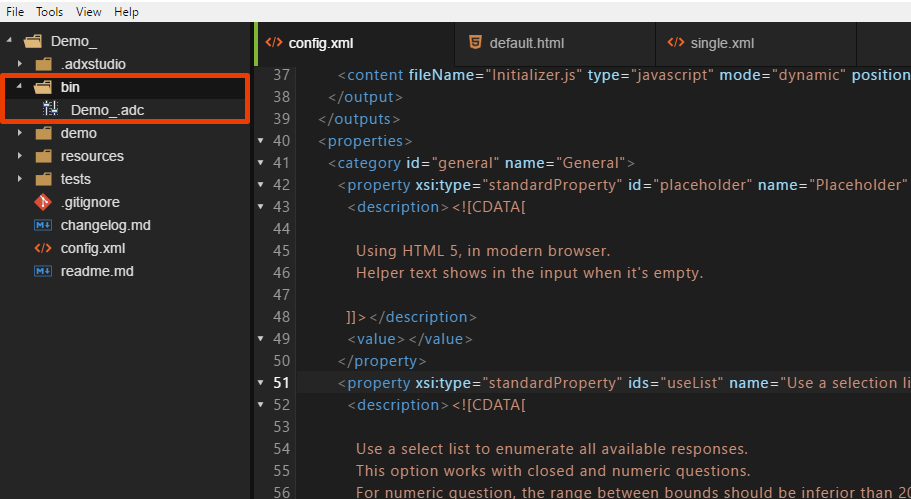
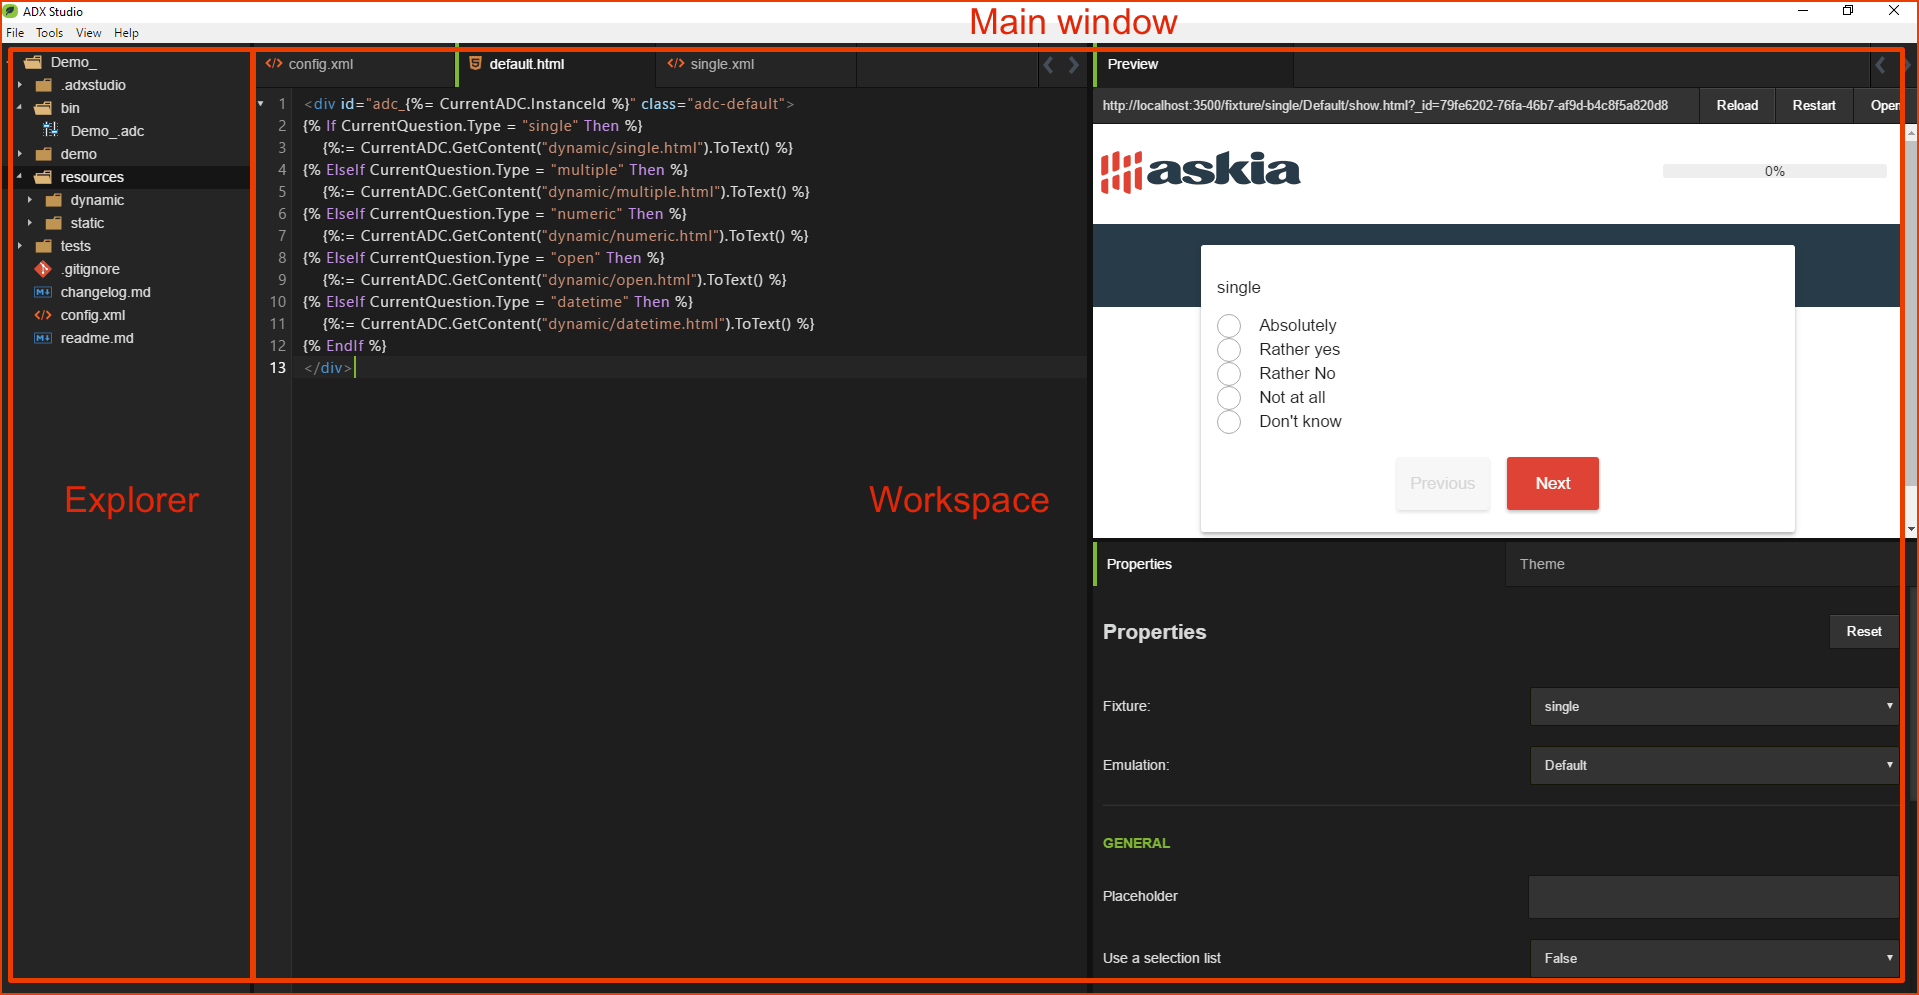
The files necessary to edit/create your ADC/ADP are located in the “Resources” folder:
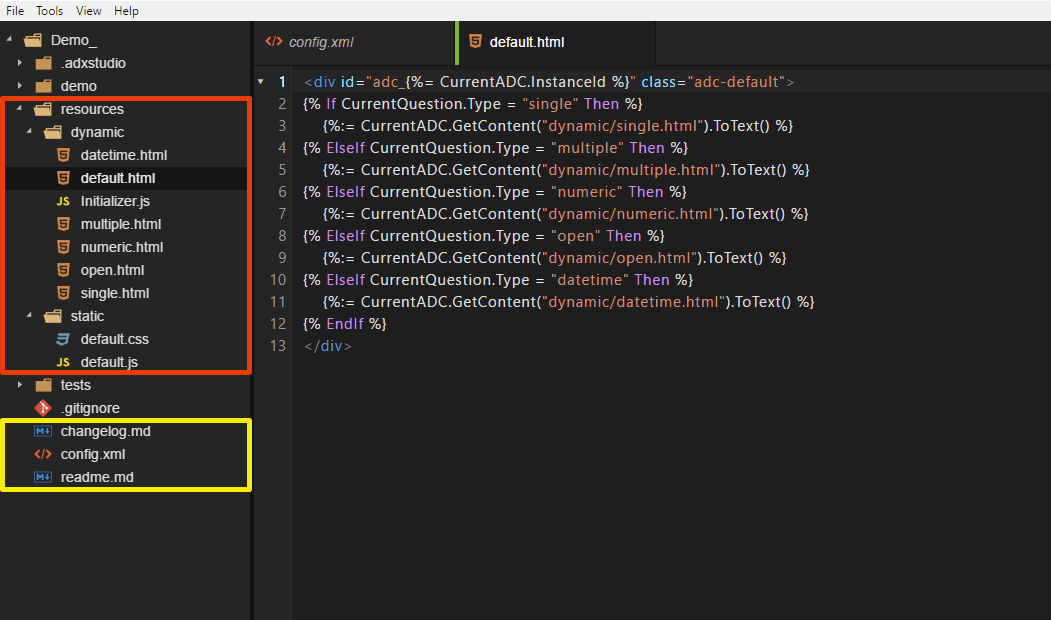
Files marked in yellow in the above screenshot can be updated to provide information about the ADC/ADP.
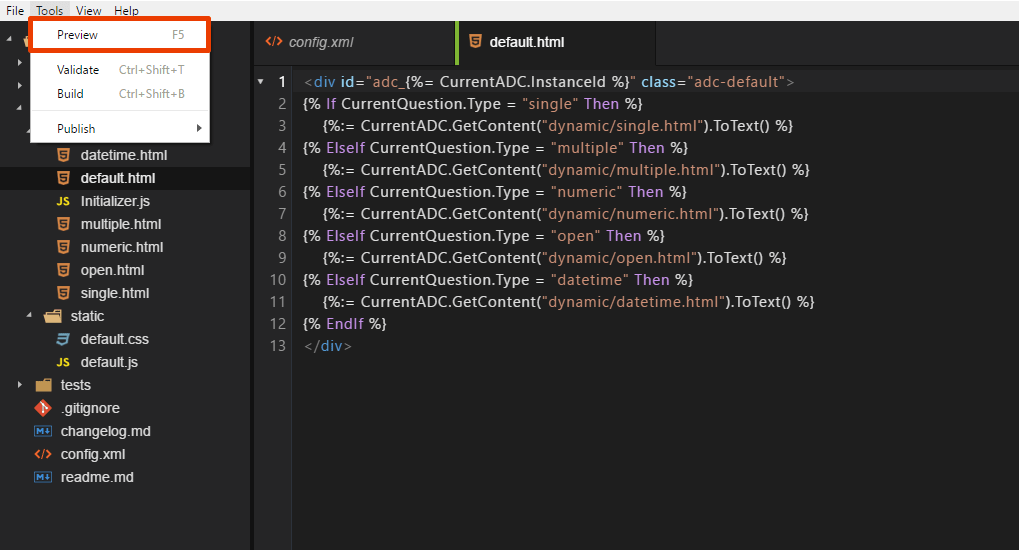
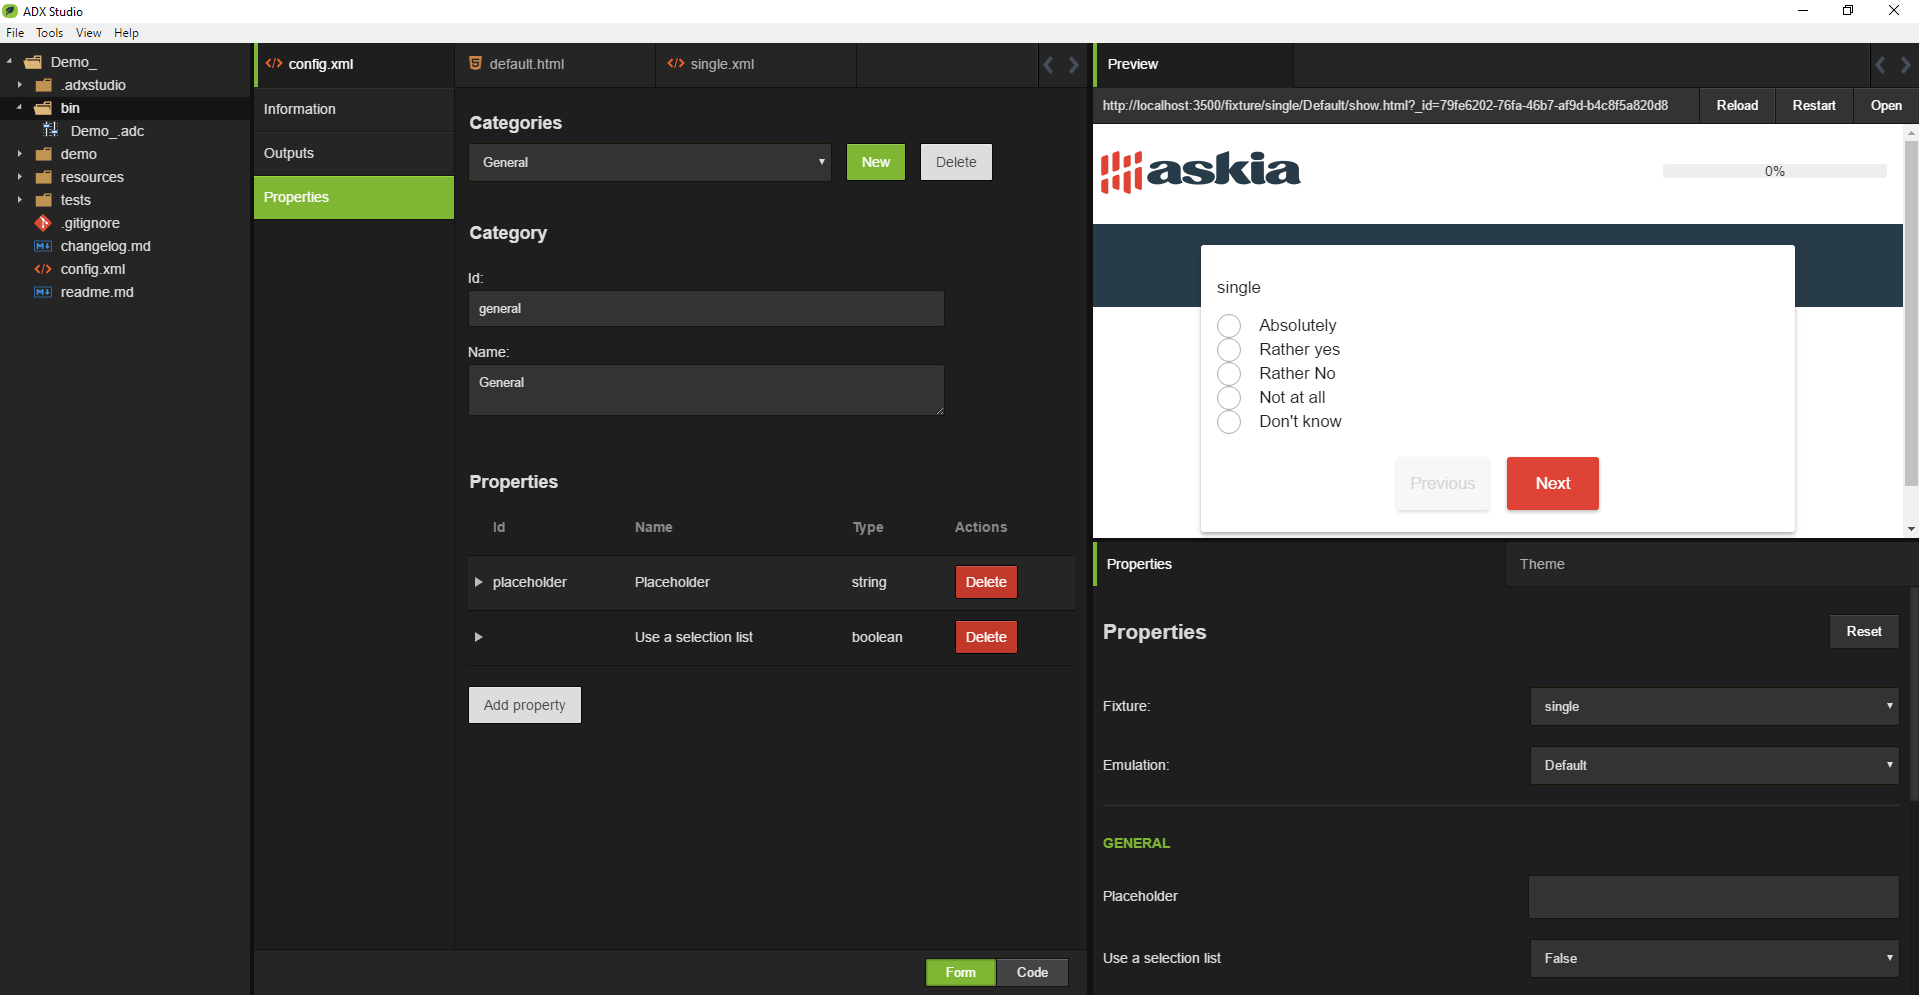
Preview an ADC - ADP
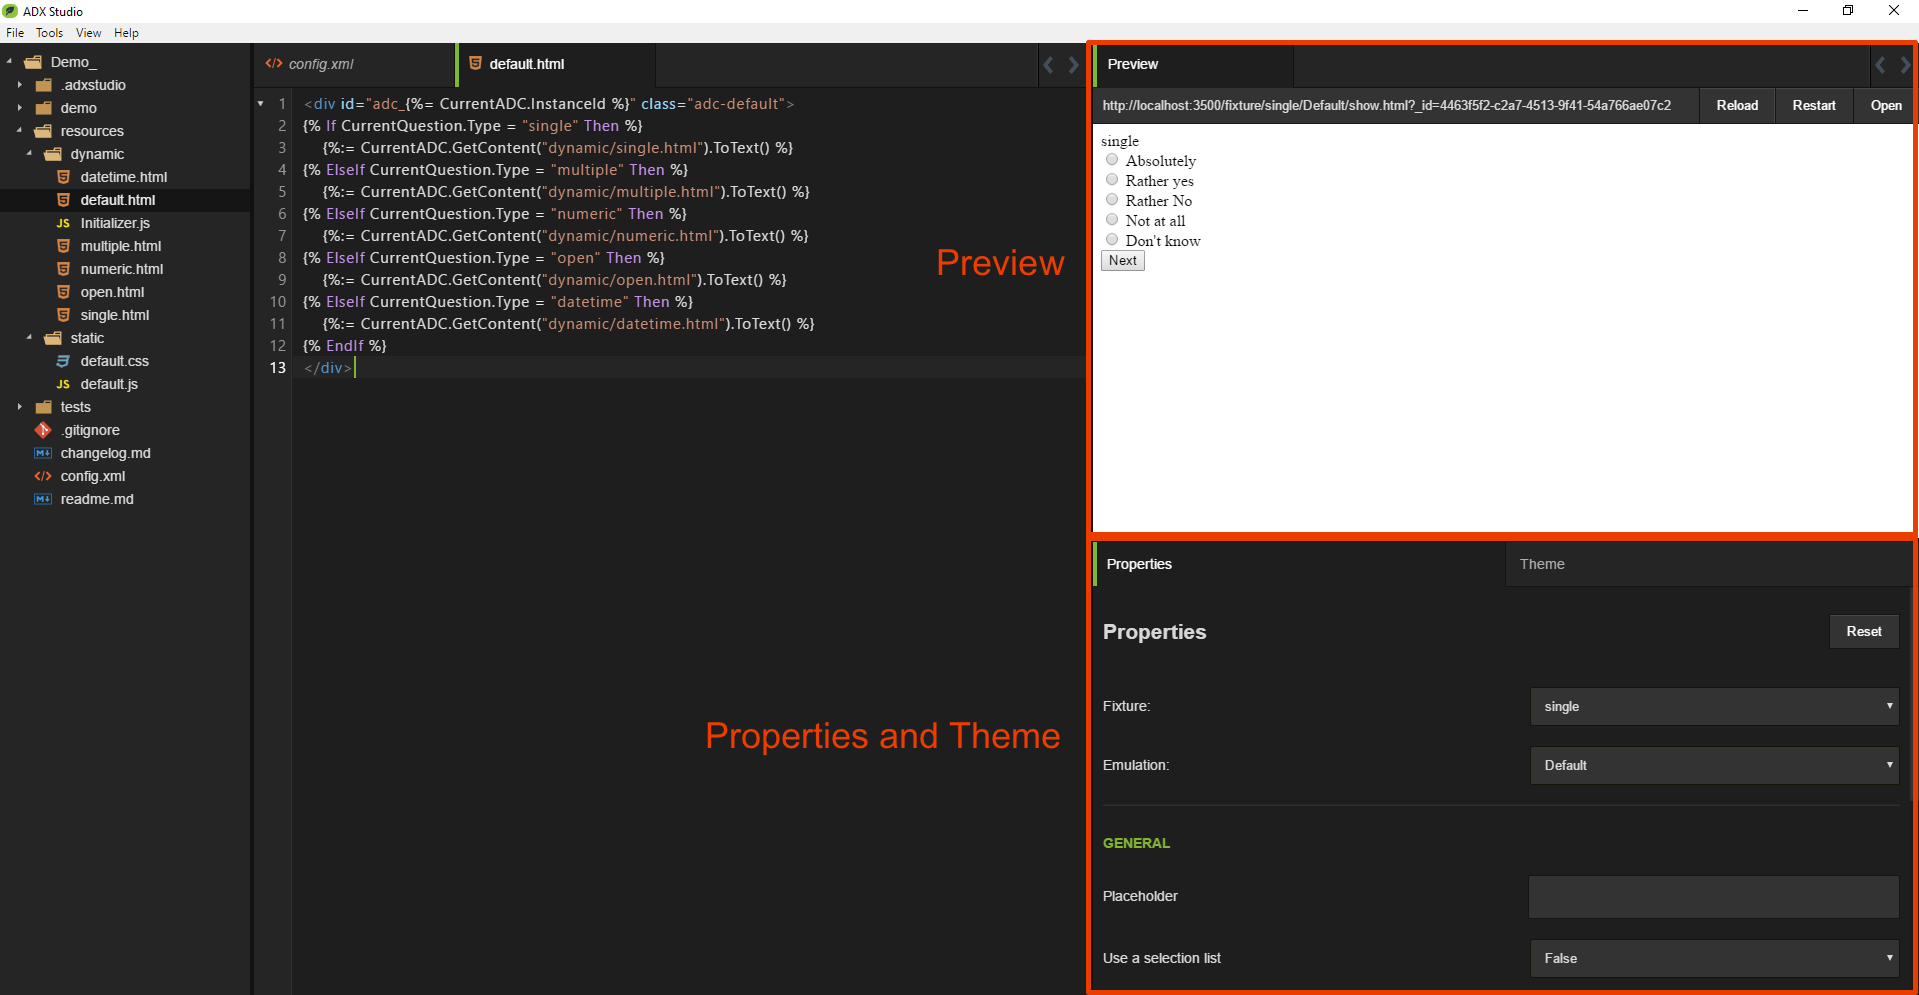
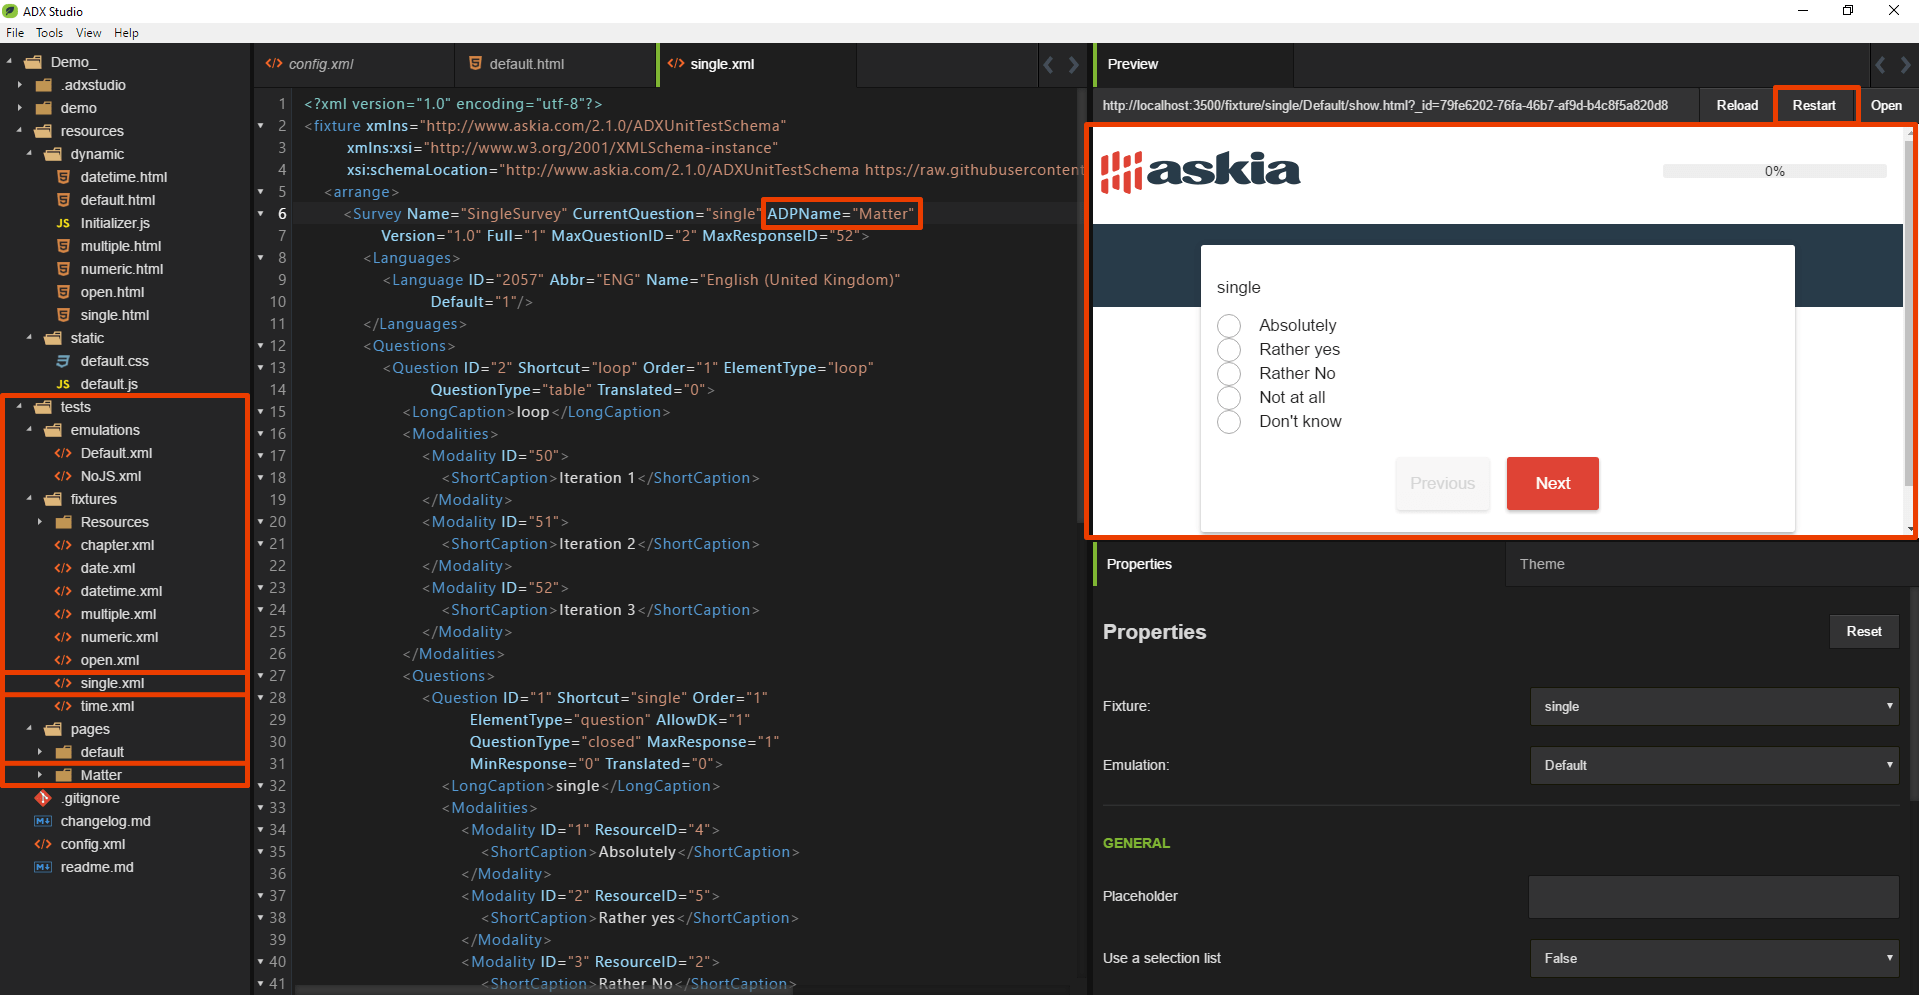
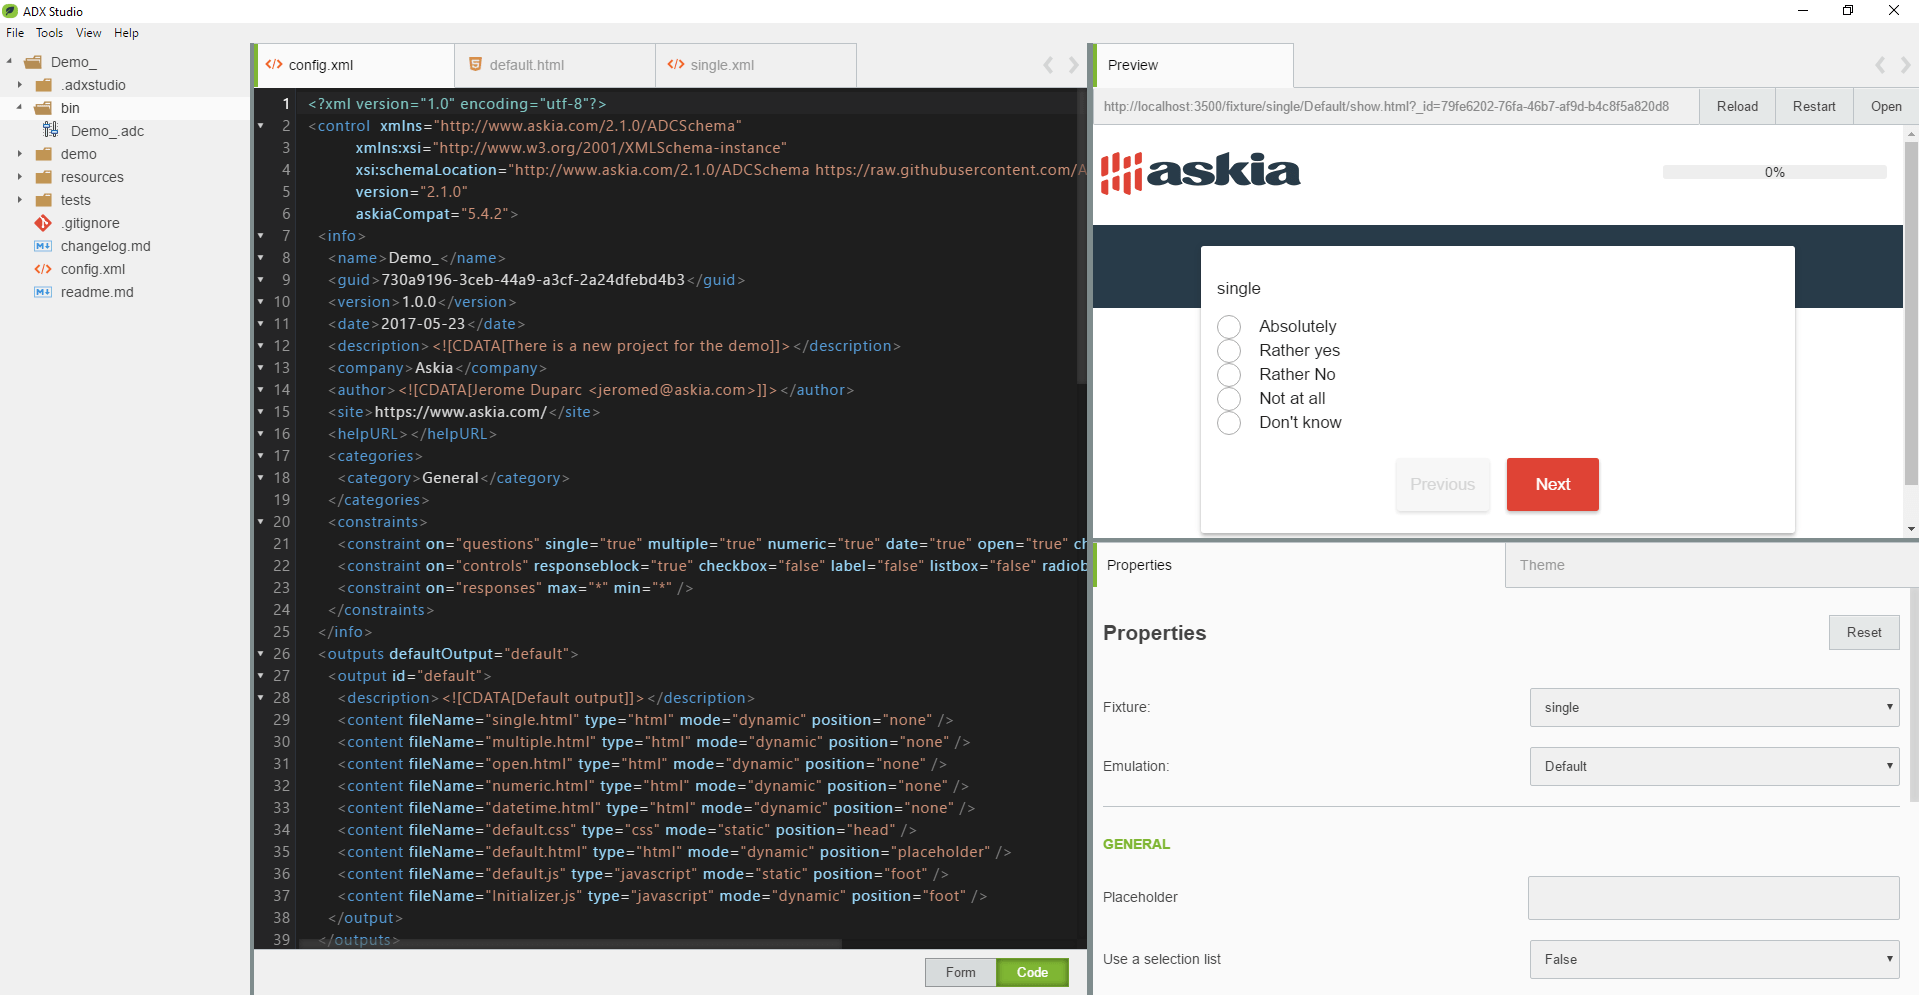
The Preview panel displays some other properties (such as the type of the question (Fixture), the output type to preview (Emulation), etc). Available properties depend of which have been added to the ADC/ADP. If you change a property, the preview will reload automatically. You also have access to the Theme properties.
To emulate the preview, ADXStudio use the "tests" folder and it's content. Feel free to modify the content of the tests folder to fit your needs.
For instance here we are previewing an ADC. If you want to add a different context as an ADP in the preview, you can add an ADP folder (the source files of the ADP) in the pages folder. Then in the desired fixture, replace the "ADPName" by the name of the new ADP folder. Here "Matter". Then Restart the preview.
The same principle can be applied to ADP but on that case, you will have to change the "ADCName" in the fixtures.
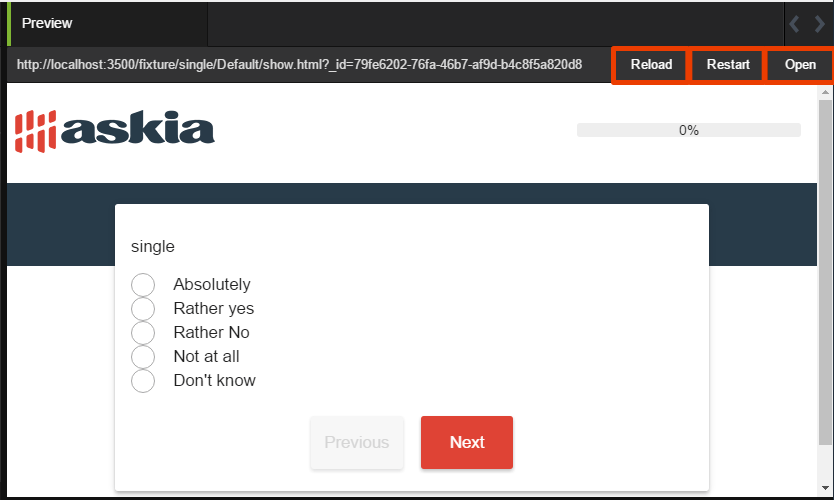
You can open the ADC/ADP preview in your default browser (click the "Open" button) or reload/restart the preview (click the "Reload" / "Restart" button). Also, the preview will be automatically reloaded upon save.
Validate & generate an ADC/ADP
Once you've created your ADC/ADP, you have to validate it (this checks various common errors such as: erroneous file extensions, syntax errors in your code, etc), and generate it.
Validation
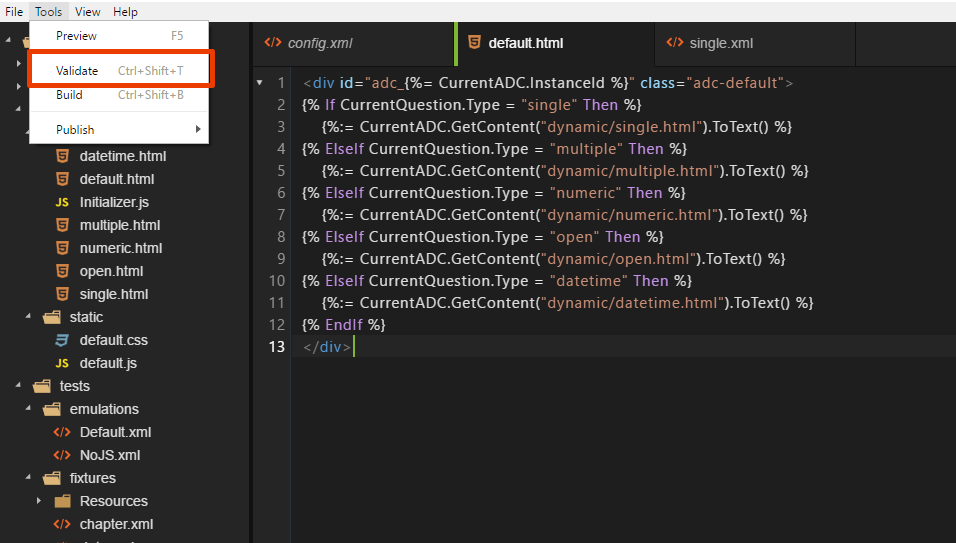
This tool will analyse your ADC/ADP and display the result in a console view that appears at the bottom of your application. If errors are found, they will appear in red, with the detail:
Validated:

Errors:

Generation
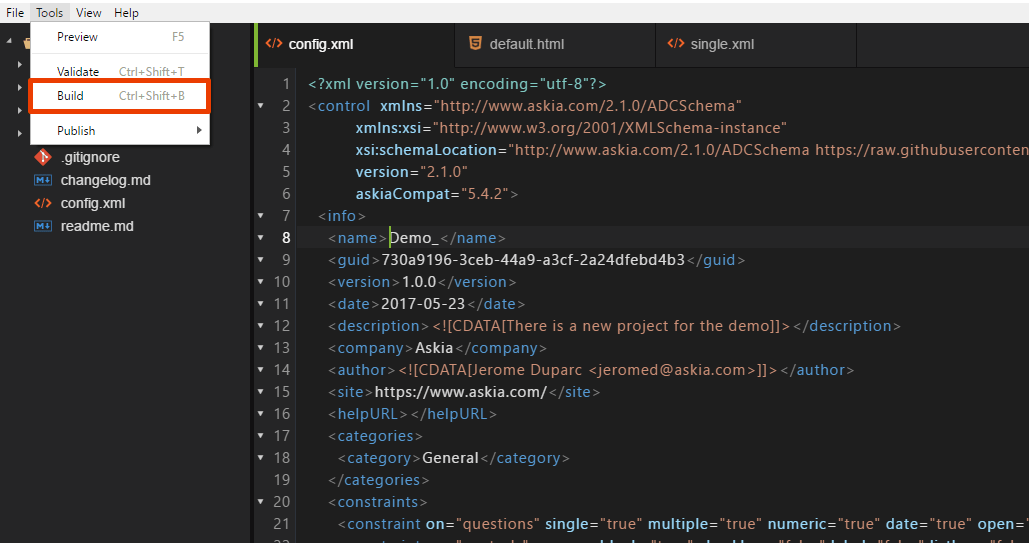
This tool will create a file with the .adc or .adp extension (to be used in AskiaDesign).
Success:

Errors:

Once done, the .adc or .adp file can be found in the bin folder:
Miscellaneous
Preferences
Access to the preferences by selecting “File” > “Preferences”. The following dialog will appear:
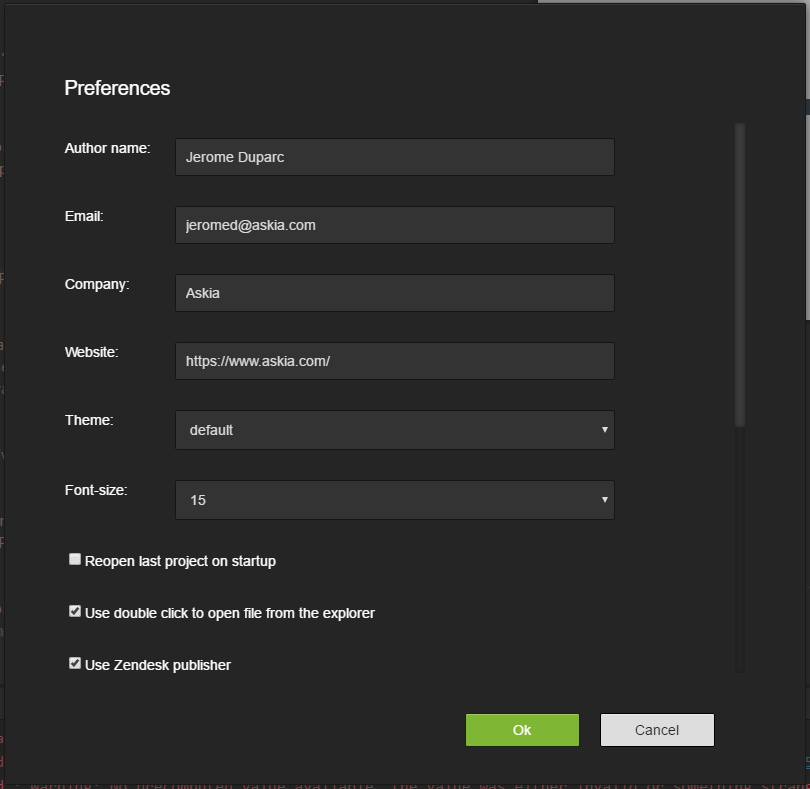
You can set the default "Author name", "Email", "Company", "Website", "Font-size" of the editor, if the application will "reopen the last project on startup" and if a double click or single click will open file from the explorer.
You also have the possibility to define which Theme you will use in ADXStudio. You have the choice between 4 themes:
Default:
Light:
Mixed:
Blue:
Known issues
ADX Studio allows you to trigger developer tools that you can use to report ADX Studio issues. Toggle the developer tools by selecting "View" > "Developer Tools" > Appropriate application panel (To activate the menu, "File" > "Preferences" -> and tick "Show Developer Tools Menu").

Each of these tools are linked with the three available panels in the application:
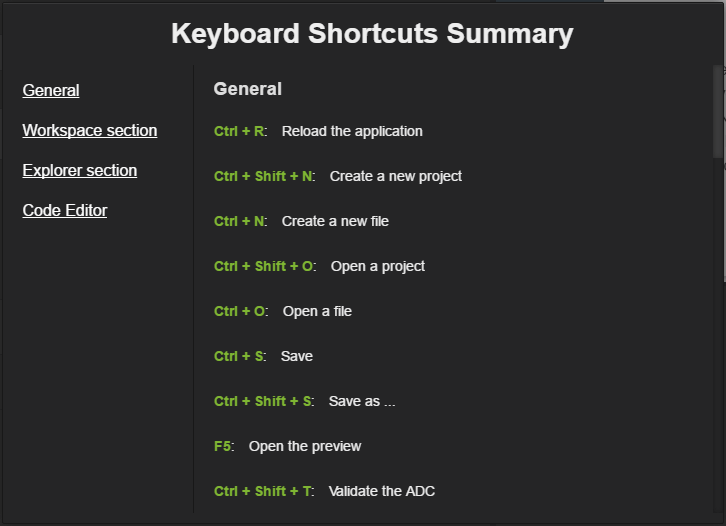
Keyboard shortcuts
Access to the keyboard shortcut by selecting “Help” > “Keyboard Shortcuts”. The following dialog will appear: